I have a unique situation where my ISP has me behind 2 NAT routers and applying to have a port forward always turns into a big problem. I have a need for some public facing services that I wish to host in my home lab. Originally I setup an OVH VPS using the OpenVPN Access Server and just connected to it with some port forwards. However, I was really missing some of the advanced features and GUI of pfSense. FreeBSD is not an option for an OVH VPS so I started down the path of trying to figure out how to get this to work.
First you must start out with a Ubuntu VPS. For this purpose I chose Ubuntu 18.04. I did a fresh install.
Once your VPS is ready refer to the email from OVH for your root password. The rest of this work will be done in the KVM. It is easier to copy and paste in a SSH session but the system isn’t accessible the entire time so the KVM is easier at this point.
Document your default gateway
root@vps:# route -n
Kernel IP routing table
Destination     Gateway         Genmask         Flags Metric Ref    Use Iface
0.0.0.0         54.39.176.1     0.0.0.0         UG    0      0        0 ens3
54.39.176.1     0.0.0.0         255.255.255.255 UH    0      0        0 ens3
In this example my default gateway is 54.39.176.1.
Prepare grub to boot mfsbsd into RAM.
root@vps:# nano /etc/default/grub
#GRUB_TIMEOUT_STYLE=hidden
GRUB_TIMEOUT=5

root@vps:# nano /etc/default/grub.d/50-cloudimg-settings.cfg
GRUB_TIMEOUT=5

root@vps:# apt install grub-imageboot -y
root@vps:# mkdir /boot/images
root@vps:# cd /boot/images
root@vps:# wget https://mfsbsd.vx.sk/files/images/12/amd64/mfsbsd-se-12.0-RELEASE-amd64.img
root@vps:# update-grub2
root@vps:# reboot
I previously tried to install pfSense from the ISO this way but it always fails as it is looking for the CD. mfsbsd is designed to run from PXE in RAM so this was a working solution.
Boot into mfsbsd
In the grub boot menu select “Bootable Floppy Image: mfsbsd-se-12.0-RELEASE-amd64” then wait. It takes a bit for it to start. Let the system boot into Multi User.
username: root
password: mfsroot
document your interface name
root@mfsbsd:# ifconfig
vtnet0: flags=8943<UP,BROADCAST,RUNNING,PROMISC,SIMPLEX,MULTICAST> metric 0 mtu 1500
etc....
vtnet0 should be your interface name. Routing doesn’t work automatically because the gateway is in a different network than your DHCP assigned address. You must manually assign a route to the interface then add the default gateway.
root@mfsbsd:# /sbin/route add -host 54.39.176.1 -iface vtnet0
root@mfsbsd:# /sbin/route add default 54.39.176.1
Download needed software
root@mfsbsd:# pkg install wget
root@mfsbsd:# cd /tmp
root@mfsbsd:# wget -O - https://nyifiles.pfsense.org/mirror/downloads/pfSense-CE-2.4.4-RELEASE-p1-amd64.iso.gz --no-check-certificate | gunzip -c > pfsense.iso
You may need to adjust your pfSense ISO download URL. You have to use the –no-check-certificate because we don’t have trusted CA’s in the live mfsbsd.
Mount ISO and run installer from chroot
root@mfsbsd:# mdconfig -a -t vnode -f /tmp/pfsense.iso
root@mfsbsd:# mount -t cd9660 /dev/md1 /cdrom
root@mfsbsd:# mount -t devfs devfs /cdrom/dev
root@mfsbsd:# mount -t tmpfs tmpfs /cdrom/tmp
root@mfsbsd:# chroot /cdrom
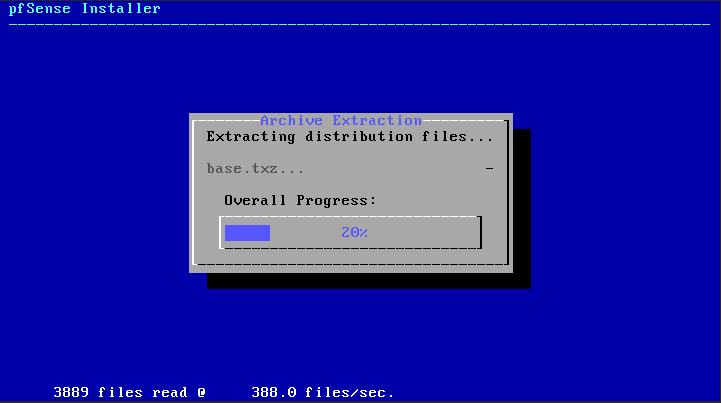
root@mfsbsd:# /usr/sbin/bsdinstallWelcome to the pfSense Installer
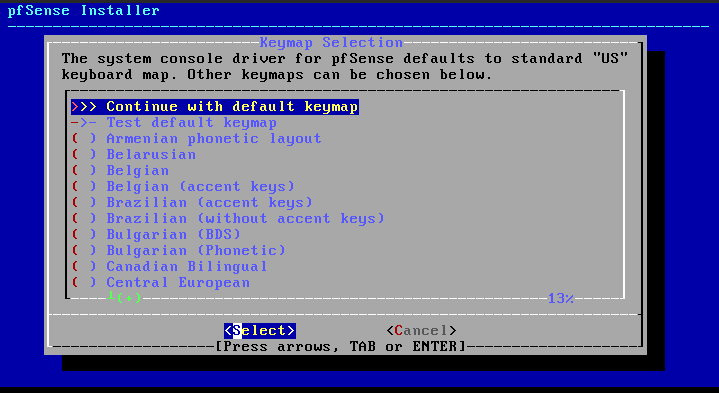
Perform a regular install. I chose UFS and left the installer to the defaults.
Reboot when done. The pfSense CLI wizard will start automatically.
DO VLANs need to be setup first? N
Type vtnet0 as your WAN interface.
LAN interface should be empty.
Press 8 and [enter] to access the pfSense Shell.

[2.4.4-RELEASE][admin@pfSense.localdomain]/root: /sbin/route add -host 54.39.176.1 -iface vtnet0
[2.4.4-RELEASE][admin@pfSense.localdomain]/root: /sbin/route add default 54.39.176.1
[2.4.4-RELEASE][admin@pfSense.localdomain]/root: exit
Document your WAN IP address from the pfSense Welcome Screen.
Login to pfSense Web GUI and install Shellcmd
https://a.b.c.d
username: admin
password: pfsense
Immediately change your password. Its a warning banner at the top.
Click on System > Package Manager, then Available Packages.
Find Shellcmd and click on +Install
Click on Services > Shellcmd
Click +Add
command:
/sbin/route add -host 54.39.176.1 -iface vtnet0 && /sbin/route add default 54.39.176.1Shellcmd Type:
shellcmdUse the same command and +Add another command and select ”
afterfilterchangeshellcmd” as the Shellcmd Type.
Now when you reboot your pfSense will get its IP from DHCP and setup routing automatically for you. Even when you reload your filter.
Conclusion
At this point I now have a public IP address on a pfSense firewall. From here I was able to setup OpenVPN and setup NAT Port Forwarding to my home lab.


Thank you, that was just what I needed!
At the final step, I think I achieved the same result through the GUI by going to System -> Routing and adding a gateway on the WAN interface. Needed to select Advanced -> Use non-local gateway to allow a gateway outside the local subnet.
Yes, it’s not mandatory to use shellcmd now, because pfSense implemented option “Use non-local gateway” in advanced options in gateway settings. It’s the same and easier.
Thanks a lot for this article!
Thank you very much!
This is really what I needed!
You saved me a lot of time!
Thanks again
Sam
Good morning
I found your guide very interesting
I tried to install pfsense on a vps with OS ubuntu 18.04
but I’m having problems when I’m in root @ mfsbsd
because obviously I’m not connected to the network but in kvm
how can I solve this catch ??
Thanks for your availability
April 2020 update! The instructions still work a treat but when you do the pkg install wget you might get an error about the mkg database having wrong meta version and it wont update, upgrade or install.
Specific error message was “FreeBSD.meta has wrong version 2”
It would not budge. What fixed it for me were these 2 steps:
pkg remove -f pkg
and then
pkg bootstrap -f
hello can you help me, i found error when command chroot /cdrom
chroot /bin/csh: no such file or directory
thanks
Hello! I followed your guide like an year ago and it worked perfectly – thank you so much!
Now I tried with the v12 of mfsbsd, but it has problems installing wget (freebsd.meta has wrong version 2). I tried with version 13 and everything works smoothly until the last two commands. When i try “chroot /cdrom” it gives me the error /bin/csh not found. Also, I noticed that running “mdconfig -a -t vnode -f /tmp/pfsense.iso” it suggests to try to recover since gpt partition table2 is corrupted in the iso, I tried multiple times but it’s always the same. Unfortunately I couldn’t find online version 2.4.4 anymore
Thank you a lot!
Instructions just needed a couple of tweaks.
Couldn’t use wget, so pkg install cURL instead, and then –output /tmp/pfsense.iso followed by gunzip
Then, when doing
chroot /cdrom
had to update to use
chroot /cdrom /bin/sh as CSH doesn’t appear to be included in the latest version. sh is fine to start the install though.
for everyone who is looking for pfsense 2.4.4:
https://repo.ialab.dsu.edu/pfsense/pfSense-CE-2.4.4-RELEASE-p1-amd64.iso.gz
Thank you for the article!
For those that encountered error : chroot /cdrom chroot /bin/csh: no such file or directory , a fix for that error is to use a older version of pfsense. Hope it helps !
use the following :
wget -O – https://repo.ialab.dsu.edu/pfsense/pfSense-CE-2.4.4-RELEASE-p1-amd64.iso.gz –no-check-certificate | gunzip -c > pfsense.iso
instead of :
wget -O – https://nyifiles.pfsense.org/mirror/downloads/pfSense-CE-2.4.4-RELEASE-p1-amd64.iso.gz –no-check-certificate | gunzip -c > pfsense.iso
Hello
I have exactly the same issue reported by Samuele in July.
Did someone figure out how to make it happen?
thank you
Yannick
Hi,
Thanks Craig for this wonderful article. You saved my day !
For people stuck on the “chroot” command (/bin/csh not found), run this one:
> chroot /cdrom /bin/sh
Hello,
Good article but now the easiest way is to use the cdrom on hviewer5 ( kvm interface)